


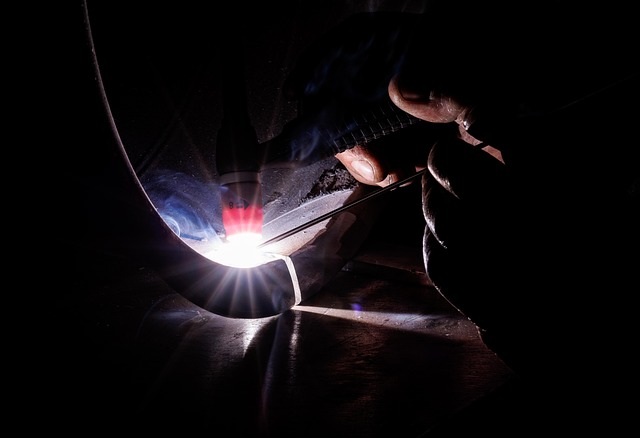
Assessing damage is key for shower restoration in Everett. For minor chips, DIY kits suffice; but extensive issues, especially leaking seals, require professional advice from Shower Repair Pros for solutions and accurate estimates. Prepare workspace, use proper materials, and protect areas before repairing. For elderly, consult experts for safer solutions. After repair, allow full drying and curing, then apply grout and sealer. Consult professionals for shower replacement cost and faucet repairs in Everett.
“Discover how to effortlessly restore your shower’s charm with our comprehensive guide on repairing chipped shower tiles in Everett. This step-by-step tutorial breaks down the process into manageable sections, from evaluating damage and gathering materials to preparation, fixing chips, drying, and sealing for longevity. With the right tools and a few simple techniques, you can transform your shower from worn to revitalized, ensuring a sleek and functional space.”
- Evaluating Damage: Inspecting Chipped Shower Tiles
- Gathering Materials: What You'll Need for Repair
- Preparation Steps: Cleaning and Protecting Surroundings
- Fixing Chips: Applying Concrete or Grout
- Drying Process: Allowing Tile to Cure Properly
- Final Touches: Sealing for Longevity
Evaluating Damage: Inspecting Chipped Shower Tiles
When it comes to shower repair in Everett, assessing the extent of damaged tiles is the first step towards a successful restoration. Start by thoroughly inspecting the affected area. Chipped tiles can range from small cracks to large pieces missing from the surface. Look for signs of water damage or leaks beneath the tile, as these issues could indicate a bigger problem with your shower’s structural integrity.
Pay close attention to the grout lines too, as they often show the first signs of deterioration. If you notice any softening or discoloration in the grout, it might require separate attention. For minor chips, a simple repair kit can be sufficient. However, for more extensive damage, especially if there are leaks from the shower base or door seal, consulting with professionals like Shower Repair Pros in Everett WA is recommended to discuss options and get an accurate estimate on shower tile repair cost and leaking shower base solutions.
Gathering Materials: What You'll Need for Repair
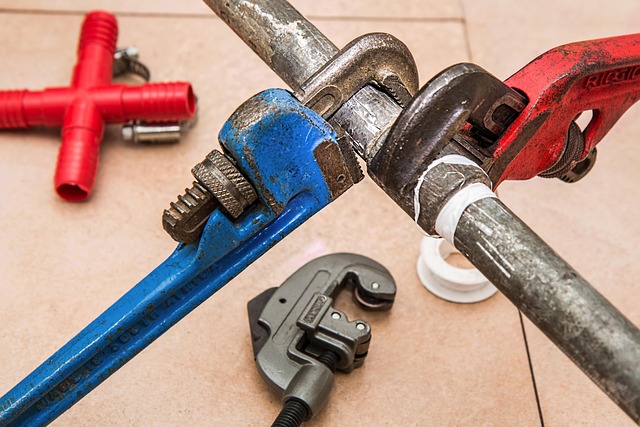
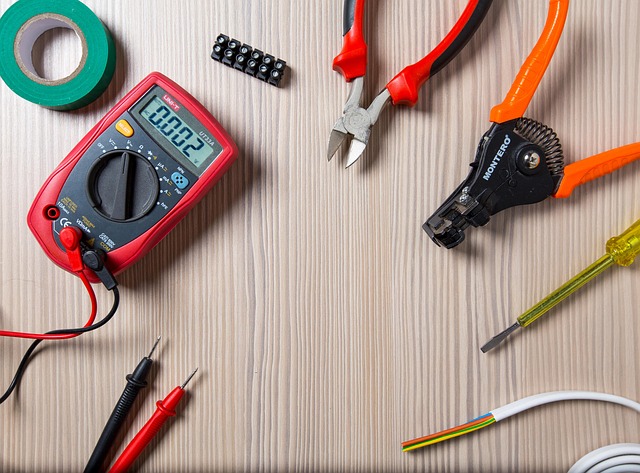
When it comes to repairing chipped shower tiles, having the right materials is key to achieving a seamless fix. For a successful shower repair Everett project, gather the following essentials: tile adhesive or mortar, a trowel, a grout bag (for applying grout), and a mix of grout specifically designed for ceramic or porcelain tiles. You might also consider using a tile patch kit, which includes pre-cut patches and an adhesive to cover small chips. Additionally, prepare a bucket, sponge, and cleaning solution to ensure your workspace is tidy and ready for application.
Don’t forget that proper preparation is half the battle won. Before starting any repair work, make sure you have all the tools needed. Visiting us at Shower Repair Estimates Everett WA anytime can provide you with expert advice on the best products for your specific needs and ensure a durable fix.
Preparation Steps: Cleaning and Protecting Surroundings
Before repairing any chipped shower tiles, it’s crucial to prepare the area properly to ensure a clean and long-lasting fix. Start by clearing the shower floor and surrounding areas of any loose debris or old caulk. This step is essential as it prevents dust and dirt from getting into the repair site later on. Next, protect your surroundings with drop cloths or plastic sheeting to avoid staining nearby surfaces or floors. Covering these areas will also safeguard them from any tools or materials you use during the repair process.
Additionally, consider ventilating the space by opening windows or using fans to enhance air circulation. This is particularly important when working with tile adhesives and sealers, as these products can release strong fumes. Proper ventilation ensures a healthier work environment and helps speed up the drying process of any materials you apply. Remember, taking these preparation steps will not only make your shower repair in Everett more efficient but also contribute to achieving top-notch results that last.
Fixing Chips: Applying Concrete or Grout

Fixing chips in your shower tiles is an effective and cost-efficient way to restore the look of your bathroom, saving you the expense of a complete shower repair vs replacement. For small chips or cracks, applying concrete or grout is a straightforward solution that can be easily done by homeowners with basic DIY skills.
When choosing between concrete and grout, consider the size and depth of the chip. Grout is best for shallow chips where the damage only affects a small portion of the tile’s surface. Concrete, on the other hand, works better for larger chips or cracks that extend deeper into the tile. Visit us at Same Day Shower Repair Service anytime for expert advice tailored to your specific shower repair Everett needs, especially when dealing with repairs for elderly homeowners who may require safer, more accessible solutions.
Drying Process: Allowing Tile to Cure Properly
After repairing or replacing a chipped shower tile, proper drying and curing are essential for long-lasting results. It’s crucial to allow the tile adhesive to set fully before subjecting the area to moisture from showers. This process can take several hours, sometimes even up to 24, depending on the specific product used. During this time, avoid using the shower to prevent disturbing the bond and ensure the repair holds.
Proper curing involves more than just leaving the tile alone; it requires patience. The surface might look dry to the touch, but internally, the adhesive needs time to reach its maximum strength. This is where proper ventilation comes into play. Ensure your shower area has adequate airflow to speed up the drying process. If you’re in Everett and considering shower repair with warranty or residential shower repair services, remember that allowing tiles to cure properly is a significant step towards achieving a lasting fix—find us at shower drain replacement Everett for expert assistance.
Final Touches: Sealing for Longevity
After repairing or replacing chipped shower tiles, the final touches involve sealing the area to ensure longevity and protect against future damage. Using high-quality grout and tile sealer specific to bathroom environments is essential. This not only fills in any gaps but also creates a waterproof barrier, preventing water penetration that could lead to mold, mildew, and further structural issues.
Remember that shower replacement cost Everett Wa can vary depending on the extent of the damage and the type of materials used. For elderly homeowners or those considering repair vs replace for old showers, it’s crucial to consult with professionals like the shower faucet repair experts at our location. They can provide tailored advice, ensuring your shower is not only functional but also safe and aesthetically pleasing, for years to come. Find us at Shower Faucet Repair Experts Everett for expert guidance and solutions.
Repairing chipped shower tiles in Everett is a feasible DIY project that can significantly enhance your bathroom’s aesthetics and functionality. By following these straightforward steps, from evaluating damage to applying grout and sealing, you can ensure your shower looks as good as new. Remember, proper preparation and using the right materials are key to achieving a durable repair. So, take a dive into this guide, gather your tools, and get ready to transform your shower into a symphony of flawless tiles—one chip at a time!